
Welcome to another fantastic release from Heartfelt Creations, our release today is called "Dutch Iris-Blossom 3" Collection, this collection consists of 7 new PreCut stamp sets, 1 new coordinating exclusive Heartfelt Creations die made by Spellbinders, and 2 dies released by Spellbinders at Winter CHA. My project today is a card I made using the "Dutch Iris Frame" set, took me a bit of time to color all those flowers, but I loved every minute of it!!! If you haven't done so, make sure to stop by the Heartfelt Creations blog and just take your time to enjoy everyones gorgeous creations. Thank you for taking the time to stop by and have a wonderful and creative day.

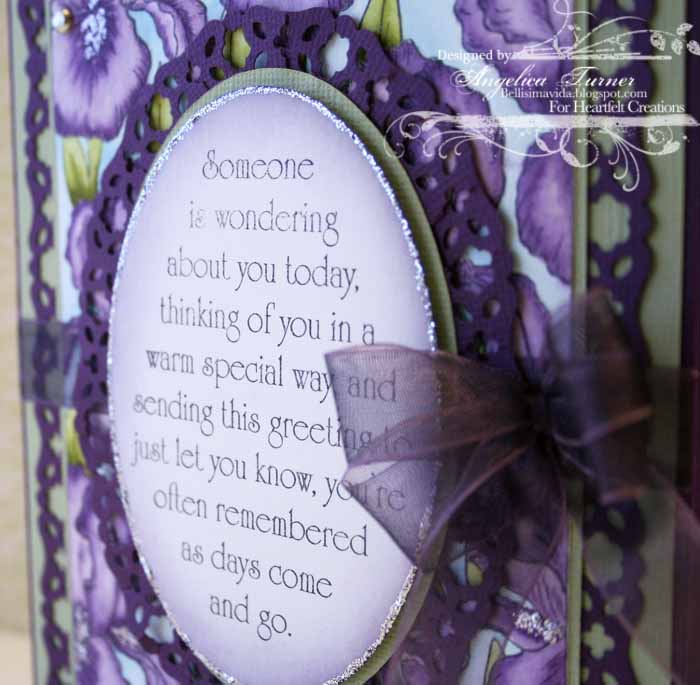

This is a closeup of the way I cut the punched border to create the border around the oval sentiment.
Supplies:
Heartfelt Creations
HCPC 3372 Dutch Iris Frame PreCut Set
Inks: StazOn (Jet Black), Distress Ink (dusty concord)
Image Colored with: Distress Ink (dusty concord, milled lavender, peeled paint, tumbled glass)
Paper: Canson "Fanboy" white paper, Bazzill Cardstock.
Other: Stickles (Silver), Ribbon, Making Memories silver mini brads, Martha Stewart corner and border punch (Flower Box), Cricut Machine, Cricut Design Studio, pop dots.
Instructions:
Size 5 1/4" x 6 1/2"
Stamp image from "Dutch Iris Frame" on white Canson paper twice, color one image with distress inks, on the second image cut the oval sentiment with scissors. Mat colored image with green cardstock, cut a piece of purple cardstock and punch the border with the MS corner and border punches, adhere to matted image, add 2 more layers, one green and one purple as pictured, add a piece of ribbon as pictured. Slightly ink the oval sentiment with dusty concord distress ink, mat with green cardstock using pop dots, (I used the Cricut and DS to cut the oval shape), punch a strip of cardstock with the MS border punch, about 3/4" wide, cut slits about every 1/2" apart, start gluing to the back of the green oval shape, making sure to align and shape as you go. Adhere to card with pop dots as pictured, add some brads, a bow and some silver stickles.
Gorgeous project, Angelica! That is a really terrific tip on turning a straight border into a curved one. It's just like with sewing!!!!!!
ReplyDeleteas always... a simply stunning project, angelica!
ReplyDelete